Visualizzazione post con etichetta Foto Tutorial. Mostra tutti i post

mercoledì 1 ottobre 2014

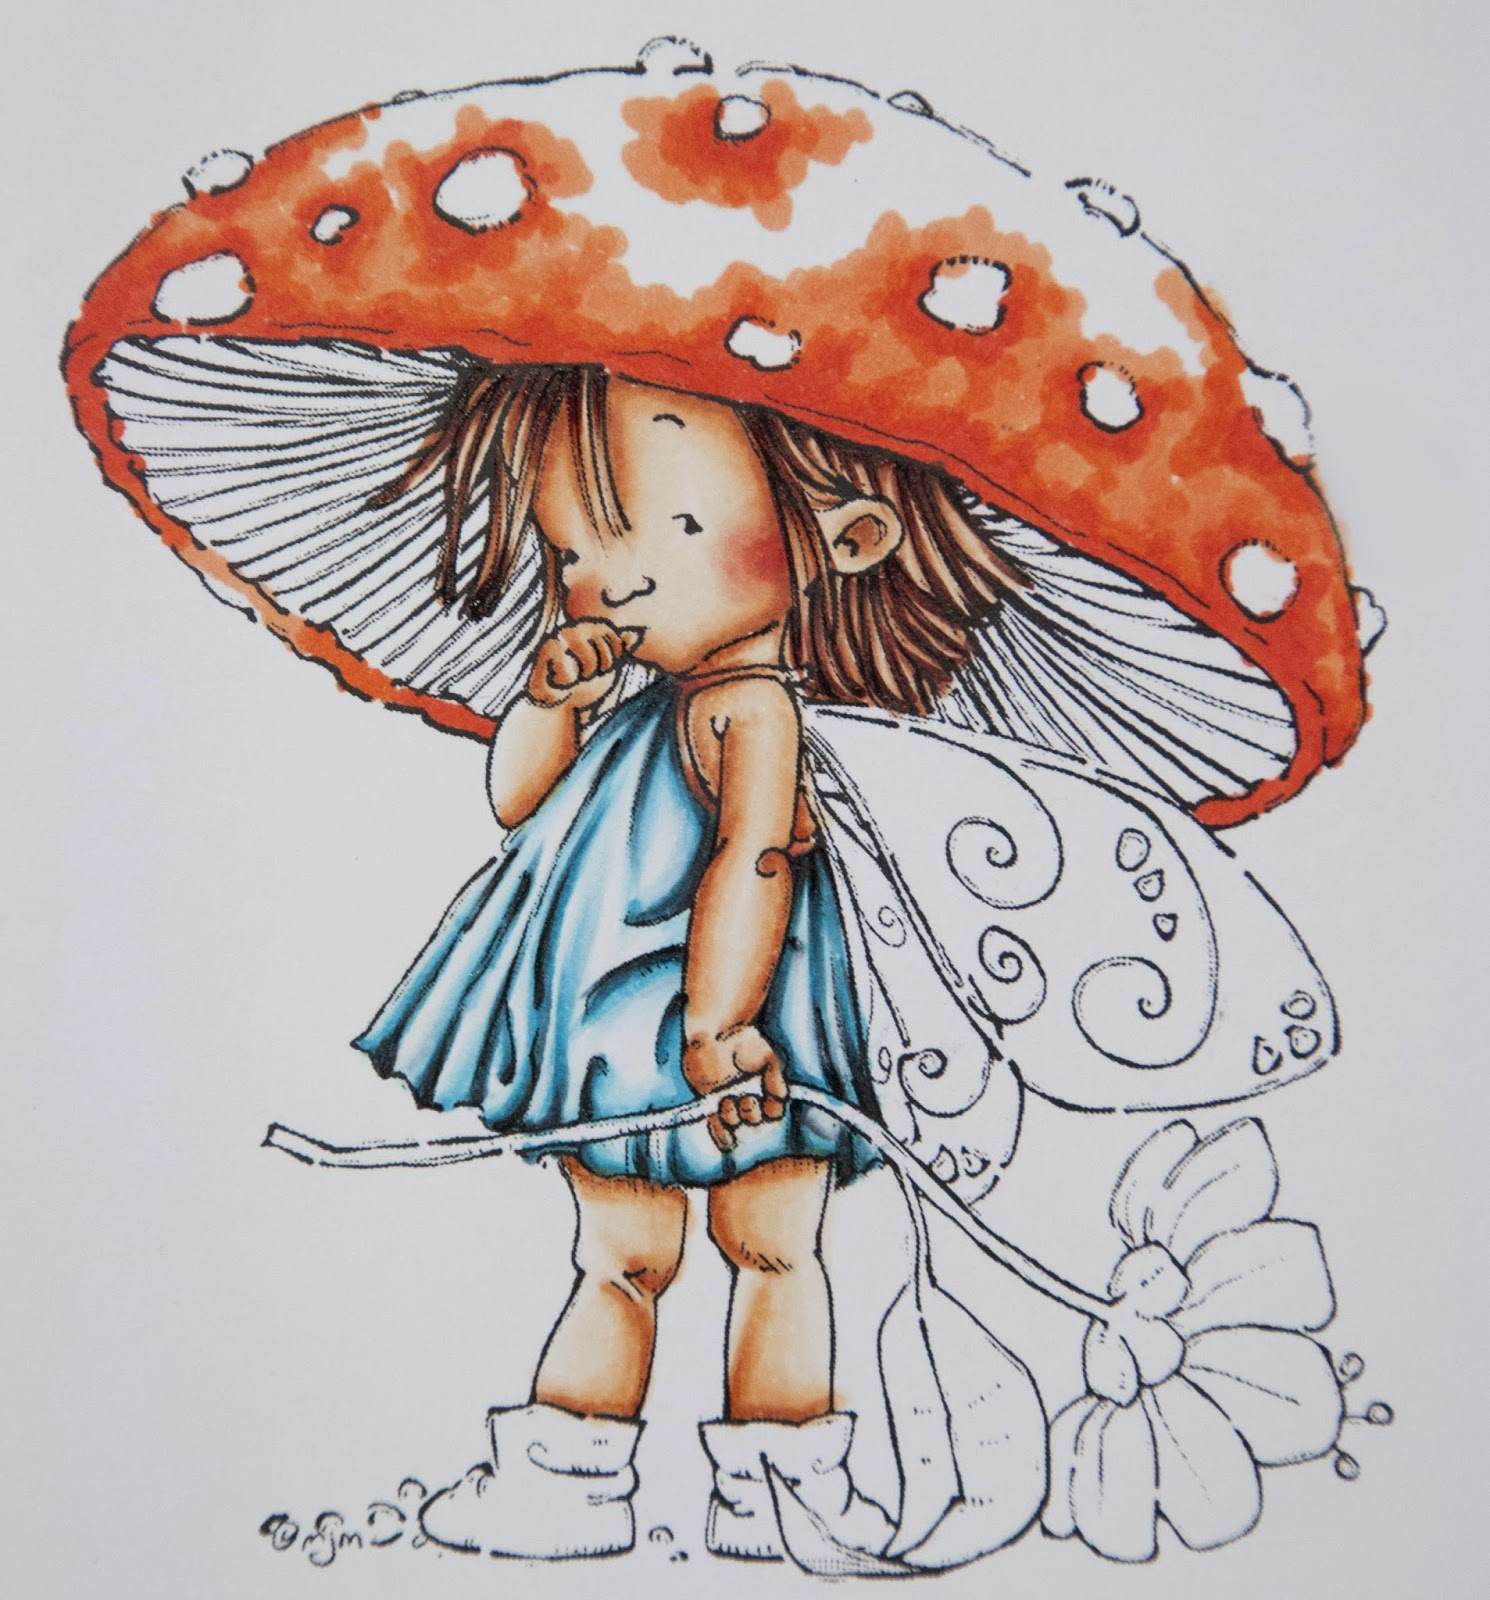
Colouring Amanita♥ - The mushroom

Hi everyone!
Here I'm again with the last part of the copic tutorial that I realized for the "Bronte and Bella Clubhouse".
 
The lovely Amanita is our protagonist and today I coloured the mushroom on her head:)
 
The colour combo I used is E00, YR02, YR07, YR09, E08, E18.
 
I started with YR09 on the darker part using the stippling tecnique:


YR07


YR02


E00

 
Here I started adding the darkest colours and giving some contrast to the colouring,
 
E08


YR09


YR07


YR02 + E00


More contrast:

E08


E18

 
E08 - YR02 to blend it a little


for the inner part of the mushroom I simply used this combo, on this order: W05, W03, W01 starting with the darker colour and blending it with the lightest ones, I repeated this sequence two times:


On this last pic, I simply coloured the white dots with a white gel pen:
 
 
That's all, I hope this can be useful!
 
To see how I coloured Amanita's skin have a look here
To see how I coloured Amanita's hair and dress have a look here
 
 
Bye,

lunedì 29 settembre 2014

Colouring Amanita♥ - Hair and Dress

Hello everybody!
Here I'm again with the second part of the copic tutorial that I realized for the "Bronte and Bella Clubhouse".
 
Amanita is our protagonist and today I coloured her hair and her dress :)
 
Let's start with hair; It's not a difficult task with Amanita, however I used the same tecnique that I use with all the characters even if I generally divide it in section when they are longer;
 
A little tip: when you colour hair, try to keep your marker as upright as possible to the sheet, so you can have thin strands.
 
I used one of my favourite colour combo: E00, E13, E15, E18 and I started with E15 in the darkest parts:
 
 
now E18 about on the same parts trying to make lines a little thinner:
 
 
E15 again:
 
 
E13:
 
 
now E00 (or E000 if you like more contrast) on the lightest zones:
 
 
Now I generally use E18 again on the darkest zones to increase the contrast and divide strands a little better:


♥♥♥
 
Now, let's go with the dress:
 
The colour combo I used is: BG000, BG01, BG05, 100.
 
I strarted to define the folds with BG01:
 
 
BG05:

 
BG01 again:


BG000:


Now I add some touches of black (100) here and there on the darkest zones:


I blended (with care, some little touches) with BG05:


BG01


BG000 again:


Some other touches of BG05 here and there on the darkest parts:


At the end I generally give some touches of blender (0) on the lightest parts:


I wanted her dress quite delicate; when I want to give more colour to it I repeat the same steps more and more times until I'm not satisfied with the saturation of colours :)
 
That's all, I hope you liked this!
Speak soon with the third part of my tutorial: colouring the mushroom :)

To see how I coloured Amanita's skin have a look here
To see how I coloured Amanita's mushroom have a look here
 
Hugs,


venerdì 26 settembre 2014

Colouring Amanita♥ - The Skin

Hello everybody!
 
Today I've the first part of a Copic tutorial that I realized for the "Bella and Bronte Clubhouse", our wonderful Mo Manning Facebook Page :)
 
I chosen the super cute "Amanita" as protagonist of my tut and here I colour her lovely face; I've fifteen pics just for the face, sorry! So I decided to not add pics about the rest of the skin also because I use exactly the same method to colour all the skin :)
 
Here is our lovely character:
 
 
Let's start, from the side to the center of the face
 
E11:
 
 
Always blend just the inner part of the previous colour;
 
E00:


E000:


E0000:


Now I start again from the scratch, but I start colouring her cheecks too:
 
E11:


E20 just on the cheecks:


E00:


E000:


E0000:


...and again, but starting with a darker colour;
 
E13:


E11:


E00:


Attention!
I generally skip one colour now!
(just to increase the contrast)
 
E0000:


Now I add some more colour to her cheecks using a Prismacolor Pencil (PC424-Crimson Red);
Give just a little touch on the border of the cheecks and then blend it with Zest-It:


Here I coloured the rest of her skin with the same method:


That's all!
I hope this can be useful, see you soon with Amanita again!

To see how I coloured Amanita's hair and dress have a look here
To see how I coloured Amanita's mushroom have a look here
 
Hugs,


venerdì 30 novembre 2012

Tea Time - quasi un Tutorial

 Ciao a tutti!

Diverse persone mi hanno chiesto di dare qualche informazione in più riguardo a questo  progettino che ho postato qualche tempo fa. Spero di essere ancora in tempo per chi voleva realizzare qualche regalino per natale!

Dunque, questa è una delle foto che avevo postato allora:
 

Per spiegarvi un pochino meglio, ecco qualche altra immagine:
 

La bustina aperta ripresa da sopra (la tag è solo appoggiata, si tratta di quella che stava appesa al manico):


Il template per la realizzazione della bustina con le relative misure:

Qui invece una visione un pochino più dettagliata della "scatolina" interna che contiene i biscotti; si tratta dei comuni biscotti cookies, quelli con i pezzi di cioccolato, ve lo dico perché la scatolina è realizzata su misura...ne ho incartati due in un pezzetto di carta forno.
Avendo tempo, potreste anche decorarla un po'...


 E qui il template per realizzazione della "scatolina"; le parti segnate con la "X" sono da tagliare; non fosse servita a questo scopo, ci avrei fatto un paio di linguette in più nella parte che si chiude inferiormente, ma in questo caso credo possa andare bene anche così...:
 

Qui, invece, un dettaglio dell'interno: la parte dove ho inserito la bustina del té; la fascetta è incollata sui lati con dei pezzetti di biadesivo piuttosto sottile (0,5).
Potete vedere anche il modo in cui è inserito il laccetto di chiusura; i buchini sono fatti con un punteruolo:


 Ed ecco il dettaglio della parte contenente la paletta-cucchiano e lo zucchero; la paletta era già confezionata, mentre per lo zucchero ho fatto una piccola bustina apposita che si adattasse alle misure, anche perché non ne avevo di confezionate, potreste usarne una già fatta o crearla con estrema facilità...


Infine il dettaglio del nastrino di chiusura:


Un consiglio: le cuciture, se intendete farle, vanno praticate prima di incollare le carte (praticamente sono finte!) altrimenti dovrete coprire il retro in qualche modo...
 
Spero che questo post possa tornare utile!
 
A presto